RAID Fire Knight's Castle Guide: Breaking the Shield

The Fire Knight is the gear dungeon that stops most new teams cold. Here's why his shield matters, which champion traits break it and how to keep him from acting.
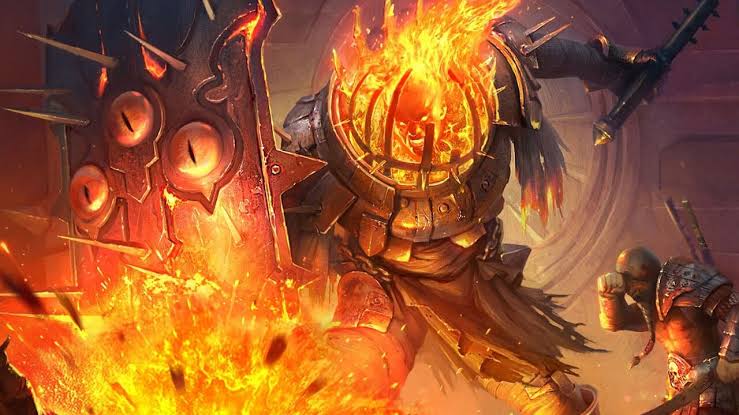
The Fire Knight with his flaming helmet and spiked shield

Fire Knight’s Castle is famous for being the hardest of the four classic gear dungeons for new players. The reason is a single mechanic: the Fire Knight’s shield. Once you understand it, the dungeon becomes a puzzle you can solve.

The shield mechanic

The Fire Knight carries a shield that has to be broken by a number of hits, not by damage. A champion who hits once for a huge amount only counts as one hit. A champion whose skills hit multiple times chips away at the shield much faster.

While the shield is up, the Fire Knight is very hard to control. Once it breaks, your debuffs and turn-meter effects can finally keep him in check – until the shield comes back.

What your team needs

RoleWhy
Multi-hit attackersBreak the shield quickly
Turn meter reductionKeeps the knight from taking turns once the shield is down
Decrease AttackSurvive his heavy hits
Healer or shielderRecovery between rotations
Decrease Defense / WeakenMake the damage window count

Champions with multi-hit skills and turn-meter reduction are prized here – Ma’Shalled is a well-known example many players build specifically for this dungeon.

A typical fight pattern

  1. Break the shield with multi-hit skills.
  2. Reduce his turn meter immediately so he can’t act.
  3. Apply Decrease Defense and Weaken, then unload damage.
  4. Repeat when the shield returns.

The goal is to spend as much time as possible with the shield down and the knight not acting.

Speed is critical

Fire Knight rewards fast teams. If your multi-hitters and turn-meter reducers act before he does, the fight stays under your control. Read our speed and turn meter guide for why this matters.

Pushing higher stages

  • Count your hits. Look at how many hits each champion’s skills deliver – multi-hit counts are often listed in the skill description.
  • Bring two multi-hitters if one isn’t enough at higher stages.
  • Accuracy matters for turn-meter reduction – resisted effects let the knight act.
  • Survive first. If you’re dying, add Decrease Attack and more HP/DEF before chasing damage.

Common mistakes

  1. Bringing single big hitters that barely dent the shield.
  2. Ignoring turn-meter control, letting the knight take extra turns.
  3. Over-investing in Attack instead of Speed and Accuracy.

Fire Knight is the dungeon where team composition matters most. Build around the shield and it stops being a wall. Next: the Spider’s Den.

Start typing to search across all games and guides.